
Before you start any garment pattern, it helps to understand the materials you’ll need and how to make sure your finished piece fits the way it’s supposed to. This guide covers everything from choosing yarn to checking your gauge, so you can start your project with confidence.
If you haven’t already, check out How to Read a Crochet Pattern: A Beginner’s Guide to Abbreviations, Sizing & Stitch Counts first — it’ll help the sizing notes below make a lot more sense.
Choosing the Right Yarn
The yarn used to create the patterns on this blog varies greatly from brand to brand, but you never have to use that exact yarn; it can become very pricey very quickly, and you don’t need to use expensive yarn to have an expensive-looking result. I’d recommend using the same yarn weight that I do, but you can easily change the fiber content and brand to fit your preferences.
Weight: All patterns on this blog use the same yarn weight. It’s known by many different names, but it’s most often called “size 4,” “aran,” “worsted,” or “afghan.” If the yarn you want to use doesn’t have any of those labels, you simply have to check if it meets gauge; if it does, it’s okay to use!
Fiber content: You don’t have to use the same fiber (wool, cotton, acrylic, etc.) that I used in the patterns, but it may affect the performance of your garment. For example, cotton is a heavy fiber, so if you replace the recommended acrylic with cotton, it may sag more than expected with the extra weight.
Dye lots: When you start a garment pattern, you’ll be using a lot of yarn, and thus probably more than one skein. Because of this, you’ll need to check the dye lots on your skeins before starting. Even if two skeins are labeled as the same color, they can look very different if they come from different dye lots, and the difference will become apparent once you start crocheting with them. Ensure that you have the same dye lot for each skein before you begin — you’ll find this on the yarn label.
Crochet Hook
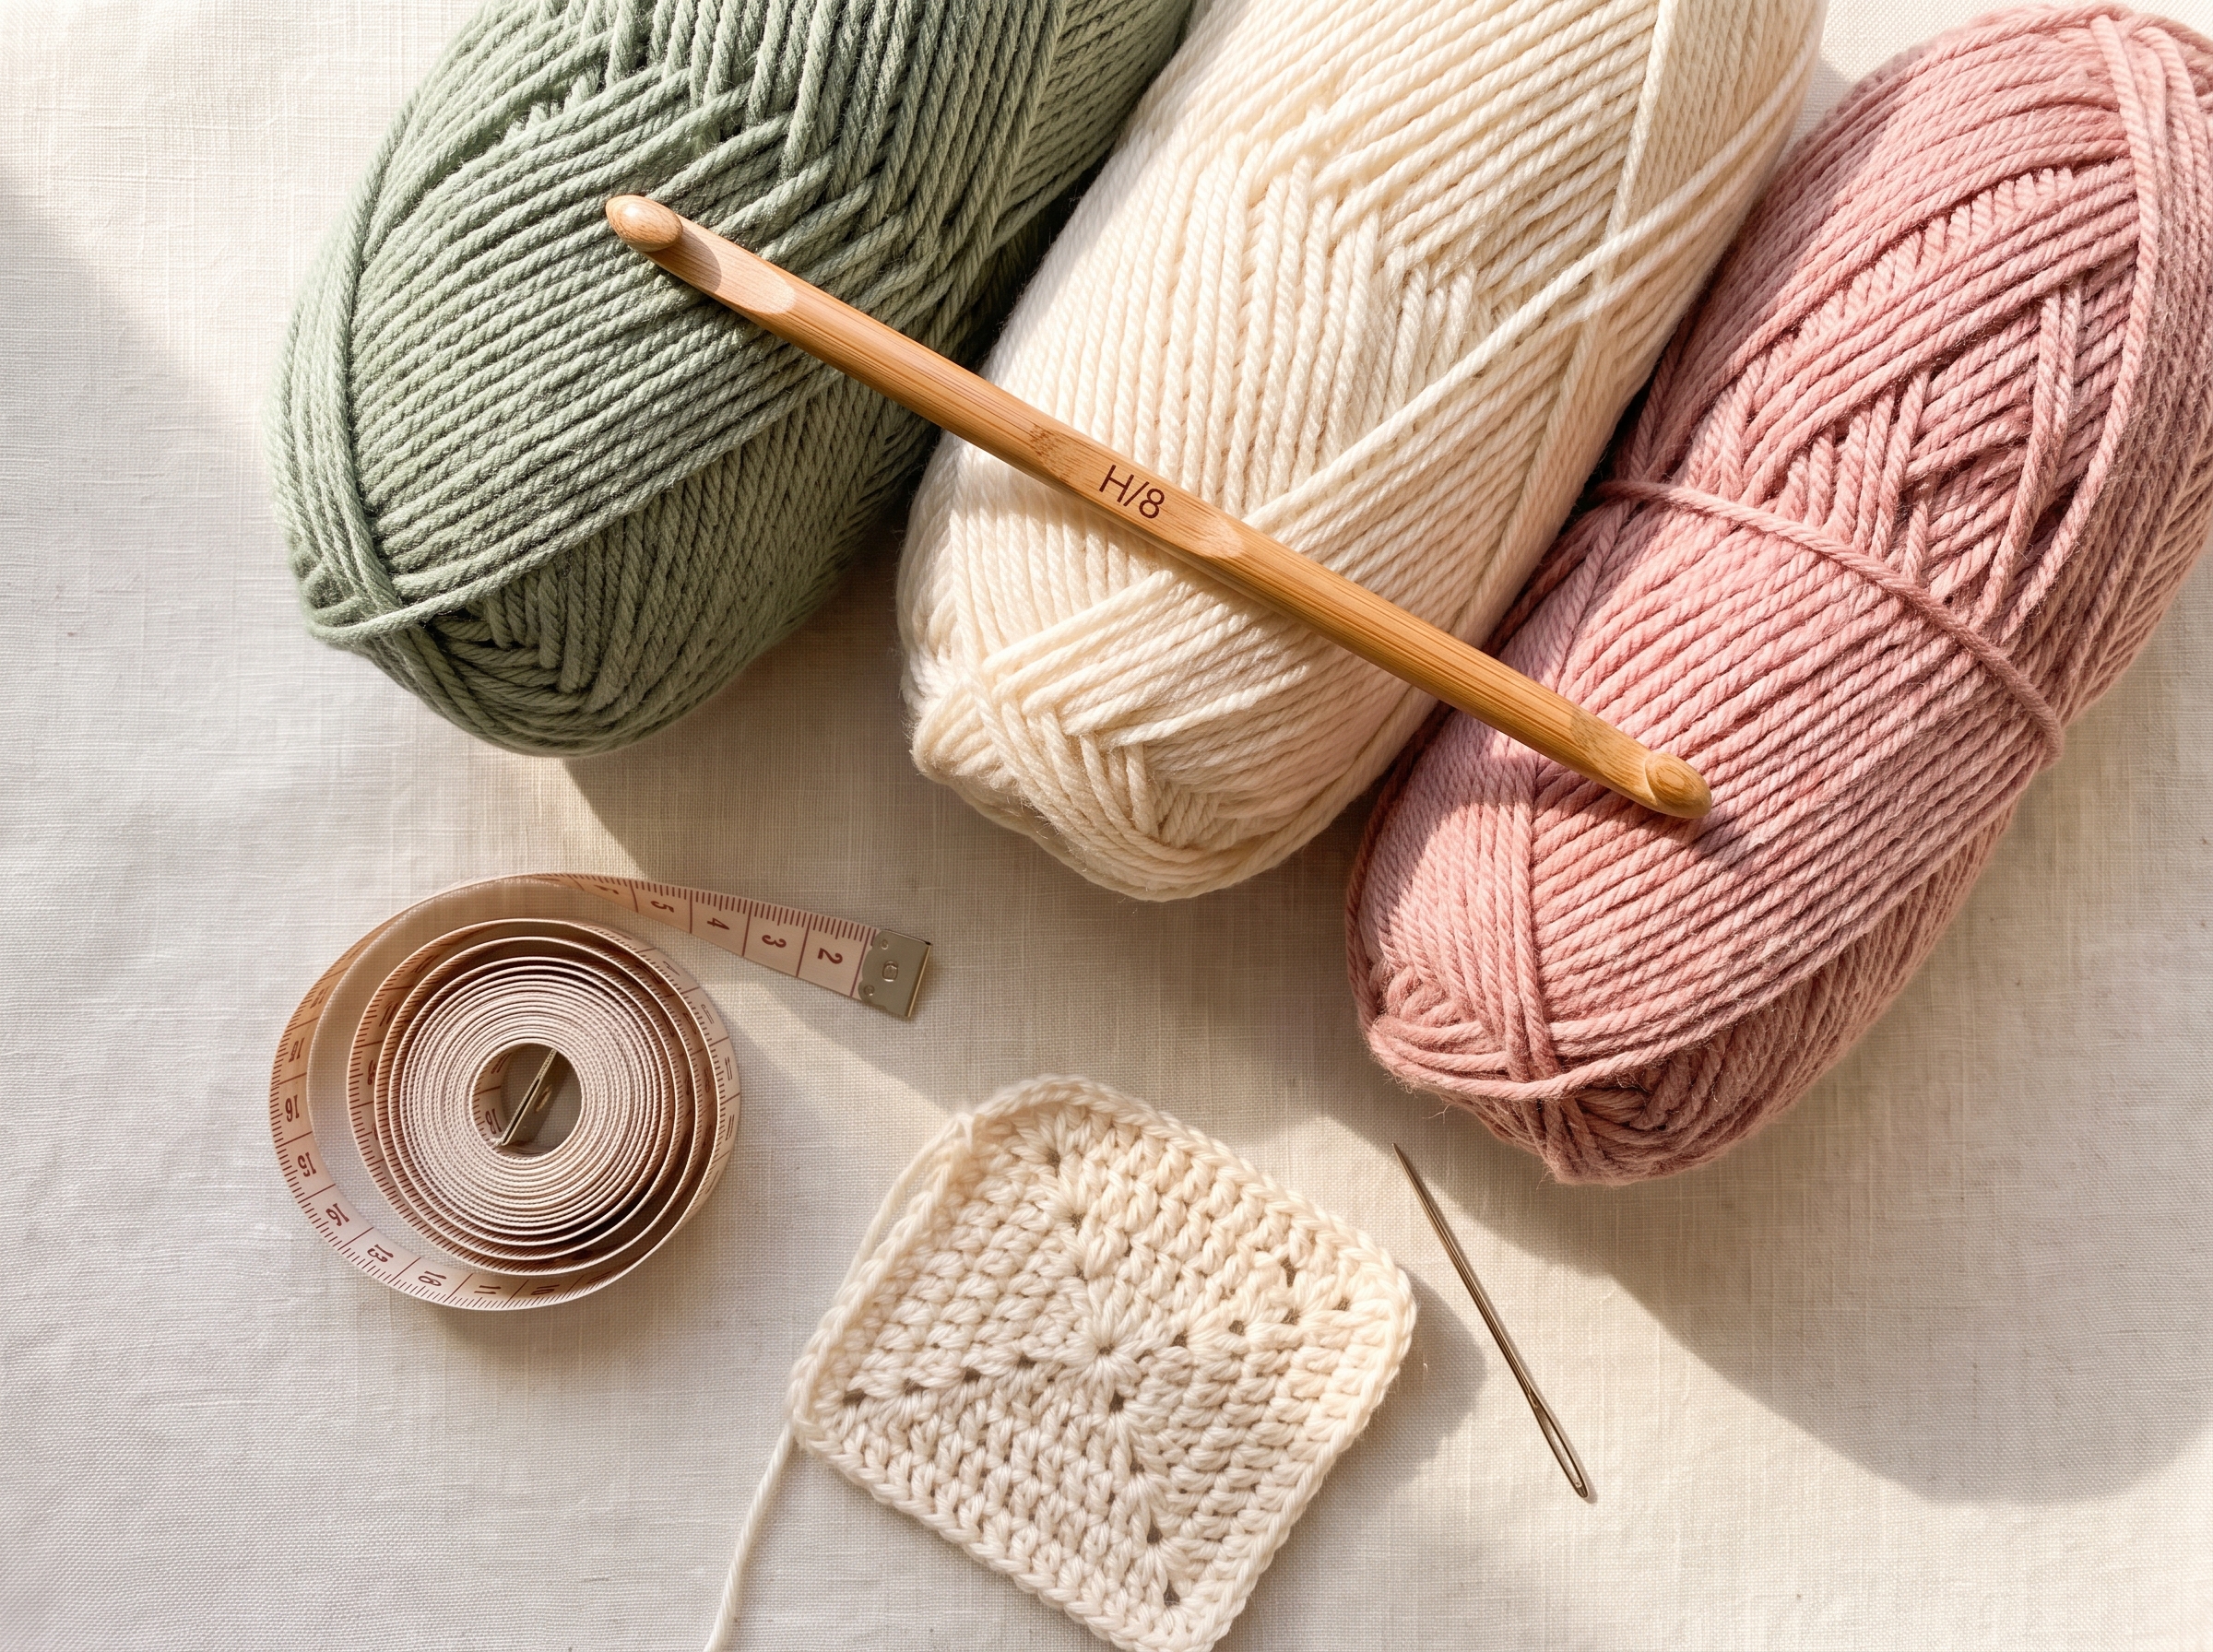
Each pattern recommends a specific hook size (commonly a US H/8 / 5 mm), but if your gauge swatch shows you should use a smaller or larger hook, you may want to have those purchased and at the ready. It can become expensive to buy each hook as you go, so I’d recommend buying a set. If you have issues with wrist, arm, or shoulder pain, you can use ergonomic hooks.
Notions
Tape measure: Getting a tape measure is essential to fiber artistry. I’d recommend getting a soft tape measure made specifically for clothing, approximately 60 inches (152 cm) long. If you’re often making larger sizes, you can get a larger tape measure.
Tapestry needle: Also known as a yarn needle or darning needle, this is another essential for fiber artistry. It’s mainly used for sewing pattern pieces together and weaving in ends. Since garments require seaming, this is an investment worth making. Plastic and metal needles are both available, but plastic can bend and break with much use — I recommend a good metal needle, or two!
Stitch markers: Locking stitch markers are used in most patterns. They’re very useful for aligning and securing panels for seaming and marking stitch placements. There’s no need to buy some if you don’t want to — scrap pieces of yarn, safety pins, or anything else you can tie or lock onto a stitch will work just fine. If you do buy some, get a lot, since they go missing often! An inexpensive set is just as functional as an expensive one.
How to Choose a Size
Garment patterns on this blog follow the Craft Yarn Council’s sizing standards, with sizes labeled 1 through 9 corresponding to XS–5XL. You’re encouraged to measure yourself and choose a size based on the pattern’s recommendations, not on what size you typically wear in stores — department store sizing is notoriously inconsistent, and your handmade garment can be tailored to your exact measurements.
Each pattern is accompanied by a sizing chart that details the measurements as well as the intended ease for the pattern. Ease is the difference between the size of a finished garment and the size of your body. For example, if your hip circumference is 42 inches (107 cm) and the garment has a finished hip circumference of 45 inches (114 cm), the garment has 3 inches (7 cm) of positive ease, since it measures 3 inches (7 cm) larger than your actual hip circumference. Garments can also have negative ease, meaning they measure smaller than your body for a tight-fitting look.
Each pattern includes a Customized Sizing section to help you adjust the pattern if your measurements don’t line up exactly with the sizing chart. Following the pattern exactly will likely yield a great-fitting garment regardless, but the tips included allow you to make adjustments if you feel you need them.
How to Correctly Measure Yourself
To get the most accurate measurement, make sure your tape measure is held taut against your body — not slack, but not so tight that it presses into your skin. Just tight enough to mold to the area you’re measuring.
If you plan on wearing undergarments (bra, tank top, shorts, etc.) under the finished garment, make sure you measure yourself while wearing those.
- Upper arm: Hold the measuring tape around the circumference of the widest part of your bicep.
- Chest: Hold the measuring tape around the circumference of the widest part of your chest, horizontally all the way around. Make sure it doesn’t ride up toward your shoulders or down toward your waist, or your measurement will be incorrect.
- Waist: Hold the measuring tape around the circumference of the smallest part of your waist, usually around or above your belly button.
- Hips: Hold the measuring tape around the circumference of the widest part of your hips, horizontally all the way around. Make sure it doesn’t ride up toward your stomach or back, or down toward your thighs.
- Thighs: Hold the measuring tape around the circumference of the widest part of one thigh — typically an inch or two below the crotch.
What Is a Gauge Swatch?
Checking your gauge, also known as your tension, is arguably the most important step in making any garment. A gauge swatch is a small sample piece of crocheted fabric you create using the same yarn, hook, and stitches you’ll use for the pattern. Checking your gauge tells you if your tension matches the designer’s; if your tension is too loose or too tight, the garment you create can end up too loose or too tight.
For example, a gauge might read:
4 x 4″ (10 x 10 cm) = 14.5 sts and 7 rows in double crochet
This means that when you create 14.5 double crochet stitches over 7 rows, you’ll get a piece of fabric that measures 4 inches (10 cm) wide by 4 inches (10 cm) tall.
I recommend creating a gauge swatch larger than needed so you aren’t measuring the edge stitches, which can measure differently than the inner stitches. In practice, create 20 to 25 stitches and 10 rows, then measure just the inner 14.5 stitches and 7 rows.
If you plan to block your finished garment, make sure you block your gauge swatch as well. Blocking is not required — I typically don’t block my garments.
What Happens If My Gauge Is Off?
Every crocheter’s gauge is different because of how they hold their yarn and hook, so stitch size can vary greatly from person to person. Two people can make the same pattern using the same yarn and hook, but if they don’t have the same gauge, the finished product will be two completely different sizes.
For example, say you’re making size 5 of a sweater with a total of 200 stitches across the chest, intended to make a 52-inch (132-cm) finished chest measurement. If the gauge states 10 stitches for every 2.6 inches (7 cm), but your swatch has 12 stitches for every 2.6 inches (7 cm), your stitches are smaller than intended — your tension is too tight. In this example, the sweater would end up measuring 43 inches (109 cm), two sizes too small. Just 2 extra stitches in the gauge swatch can heavily affect the fit of your finished garment.
To change your tension, change your hook size, or try crocheting looser or tighter by holding your yarn differently. Always start with the recommended hook size.
- If your tension is too tight (too many stitches in the same space), go up one or two hook sizes.
- If your tension is too loose (too few stitches in the same space), go down one or two hook sizes.
It can be a tedious guess-and-check method, but it’s worth it in the end!
Taking Care of Your Finished Garments
To keep handmade garments in good condition, they need a little extra care.
To clean them, hand-wash in lukewarm water with mild, gentle detergent or wool wash, then roll in a towel to remove excess water and lay flat to dry.
Some yarns are machine washable and dryable, including most cottons, acrylics, and superwash yarns — but don’t assume yours is! Always check the yarn label for specific care instructions. If you machine-wash a garment made of wool (which is typically hand-wash only), felting will occur.
To store your finished garments, do not hang them up. The forces of gravity can permanently stretch your garment and ruin the shape, since handmade garments can sometimes be heavy. Instead, simply fold your finished garments for storage.
Now that you know how to choose your materials and check your gauge, you’re ready to learn the seaming methods, stitches, and assembly techniques used across every garment pattern on this blog. Head over to Essential Crochet Techniques for Garment-Making: Seaming, Stitches & Assembly Tips to learn it all — including the Starburst and Filled Granny Squares used in many of my patchwork designs.
If you haven’t already, you can also go back to How to Read a Crochet Pattern: A Beginner’s Guide to Abbreviations, Sizing & Stitch Counts for a refresher on reading pattern instructions.