
It can seem difficult to understand the abbreviations, stitch counts, and garment sizing when you’re first learning how to read patterns, but you’ll quickly get the hang of it. Unless otherwise indicated, the following notes apply to all patterns on this blog.
Seaming
When seaming pieces together, make sure to keep seams loose and do not pull tight so that pieces are able to stretch; otherwise, tight seams will affect the fit and restrict your movement while wearing them.
Turning Chains
When starting a row with single crochet, the ch-1 turning chain does not count as a stitch. When starting a row with double crochet, the ch-2 turning chain does count as a stitch.
Stitch Counts
Stitch counts are listed after each row or round. If no stitch count is given, there has been no change since the previous row/round.
Sizing
Remember that you’re only following the numbers that apply to your size, so the instructions are usually less overwhelming than they look. If it helps, you can circle the numbers that pertain to your size or leave a sticky note next to each one.
Most patterns on this blog have nine sizes ranging from XS–5XL. A few have merged two or three sizes together while covering the same size range. Instructions on how to read the parentheses are available in each pattern.
For garments with 9 sizes, they are typically written as follows:
Size 1 (2, 3, 4, 5) (6, 7, 8, 9)
which correspond to the Craft Yarn Council sizes of XS (S, M, L, XL) (2X, 3X, 4X, 5X).
For garments with 5 sizes, they are typically written as follows:
Size 1 (2, 3, 4, 5)
which correspond to the Craft Yarn Council sizes of XS (M, XL, 3X, 5X).
When you’re reading the pattern, you will only follow the numbers that pertain to the size you choose. For example, here’s a sample line:
With your base color yarn, ch 63 (66, 74, 81, 88) (95, 103, 110, 119).
This means that for size 1, you will chain 63; for size 2, you will chain 66; for size 3, you will chain 74; and so on. The two sets of parentheses make it easier to find your size. For example, if you follow size 5, you’ll always look at the last number in the first set of parentheses. Once you know where your size is, it’ll become easier to find it every time.
U.S. (a.k.a. Imperial) and metric measurements will always be provided, with U.S. written first, followed by the corresponding metric units.
Asterisks
When asterisks surround a set of instructions, it indicates that the instructions should be repeated as many times as indicated. For example, here’s a sample line:
Ch 3, then *tc 16 (18, 21, 23, 26) (28, 31, 33, 35), inc; repeat from * to end of row.
When you see the asterisk, you work the instructions following the asterisk the first time you read it. This means that for size 1, you will chain 3, triple crochet in the next 16 stitches, then increase on the 17th. Now, repeat the set of instructions after the asterisk until the end of the row or as directed.
Brackets
Another way that repeated instructions can be written is with brackets. When brackets surround a series of stitches, they will always be followed by the total number of times the bracketed stitches should be worked, or instructions like “to end of row.” For example, in the griddle stitch, we alternate working sc and dc stitches along the entire row. This is written as:
Sc in first st, dc in next st, [sc in next st, dc in next st] to end of row.
After working the first 2 stitches, we will work 1 sc in next st, then 1 dc in next st, then 1 sc in next st, then 1 dc in next st, and on and on until we’ve worked all stitches in the row.
Parentheses (as instructions, not sizing)
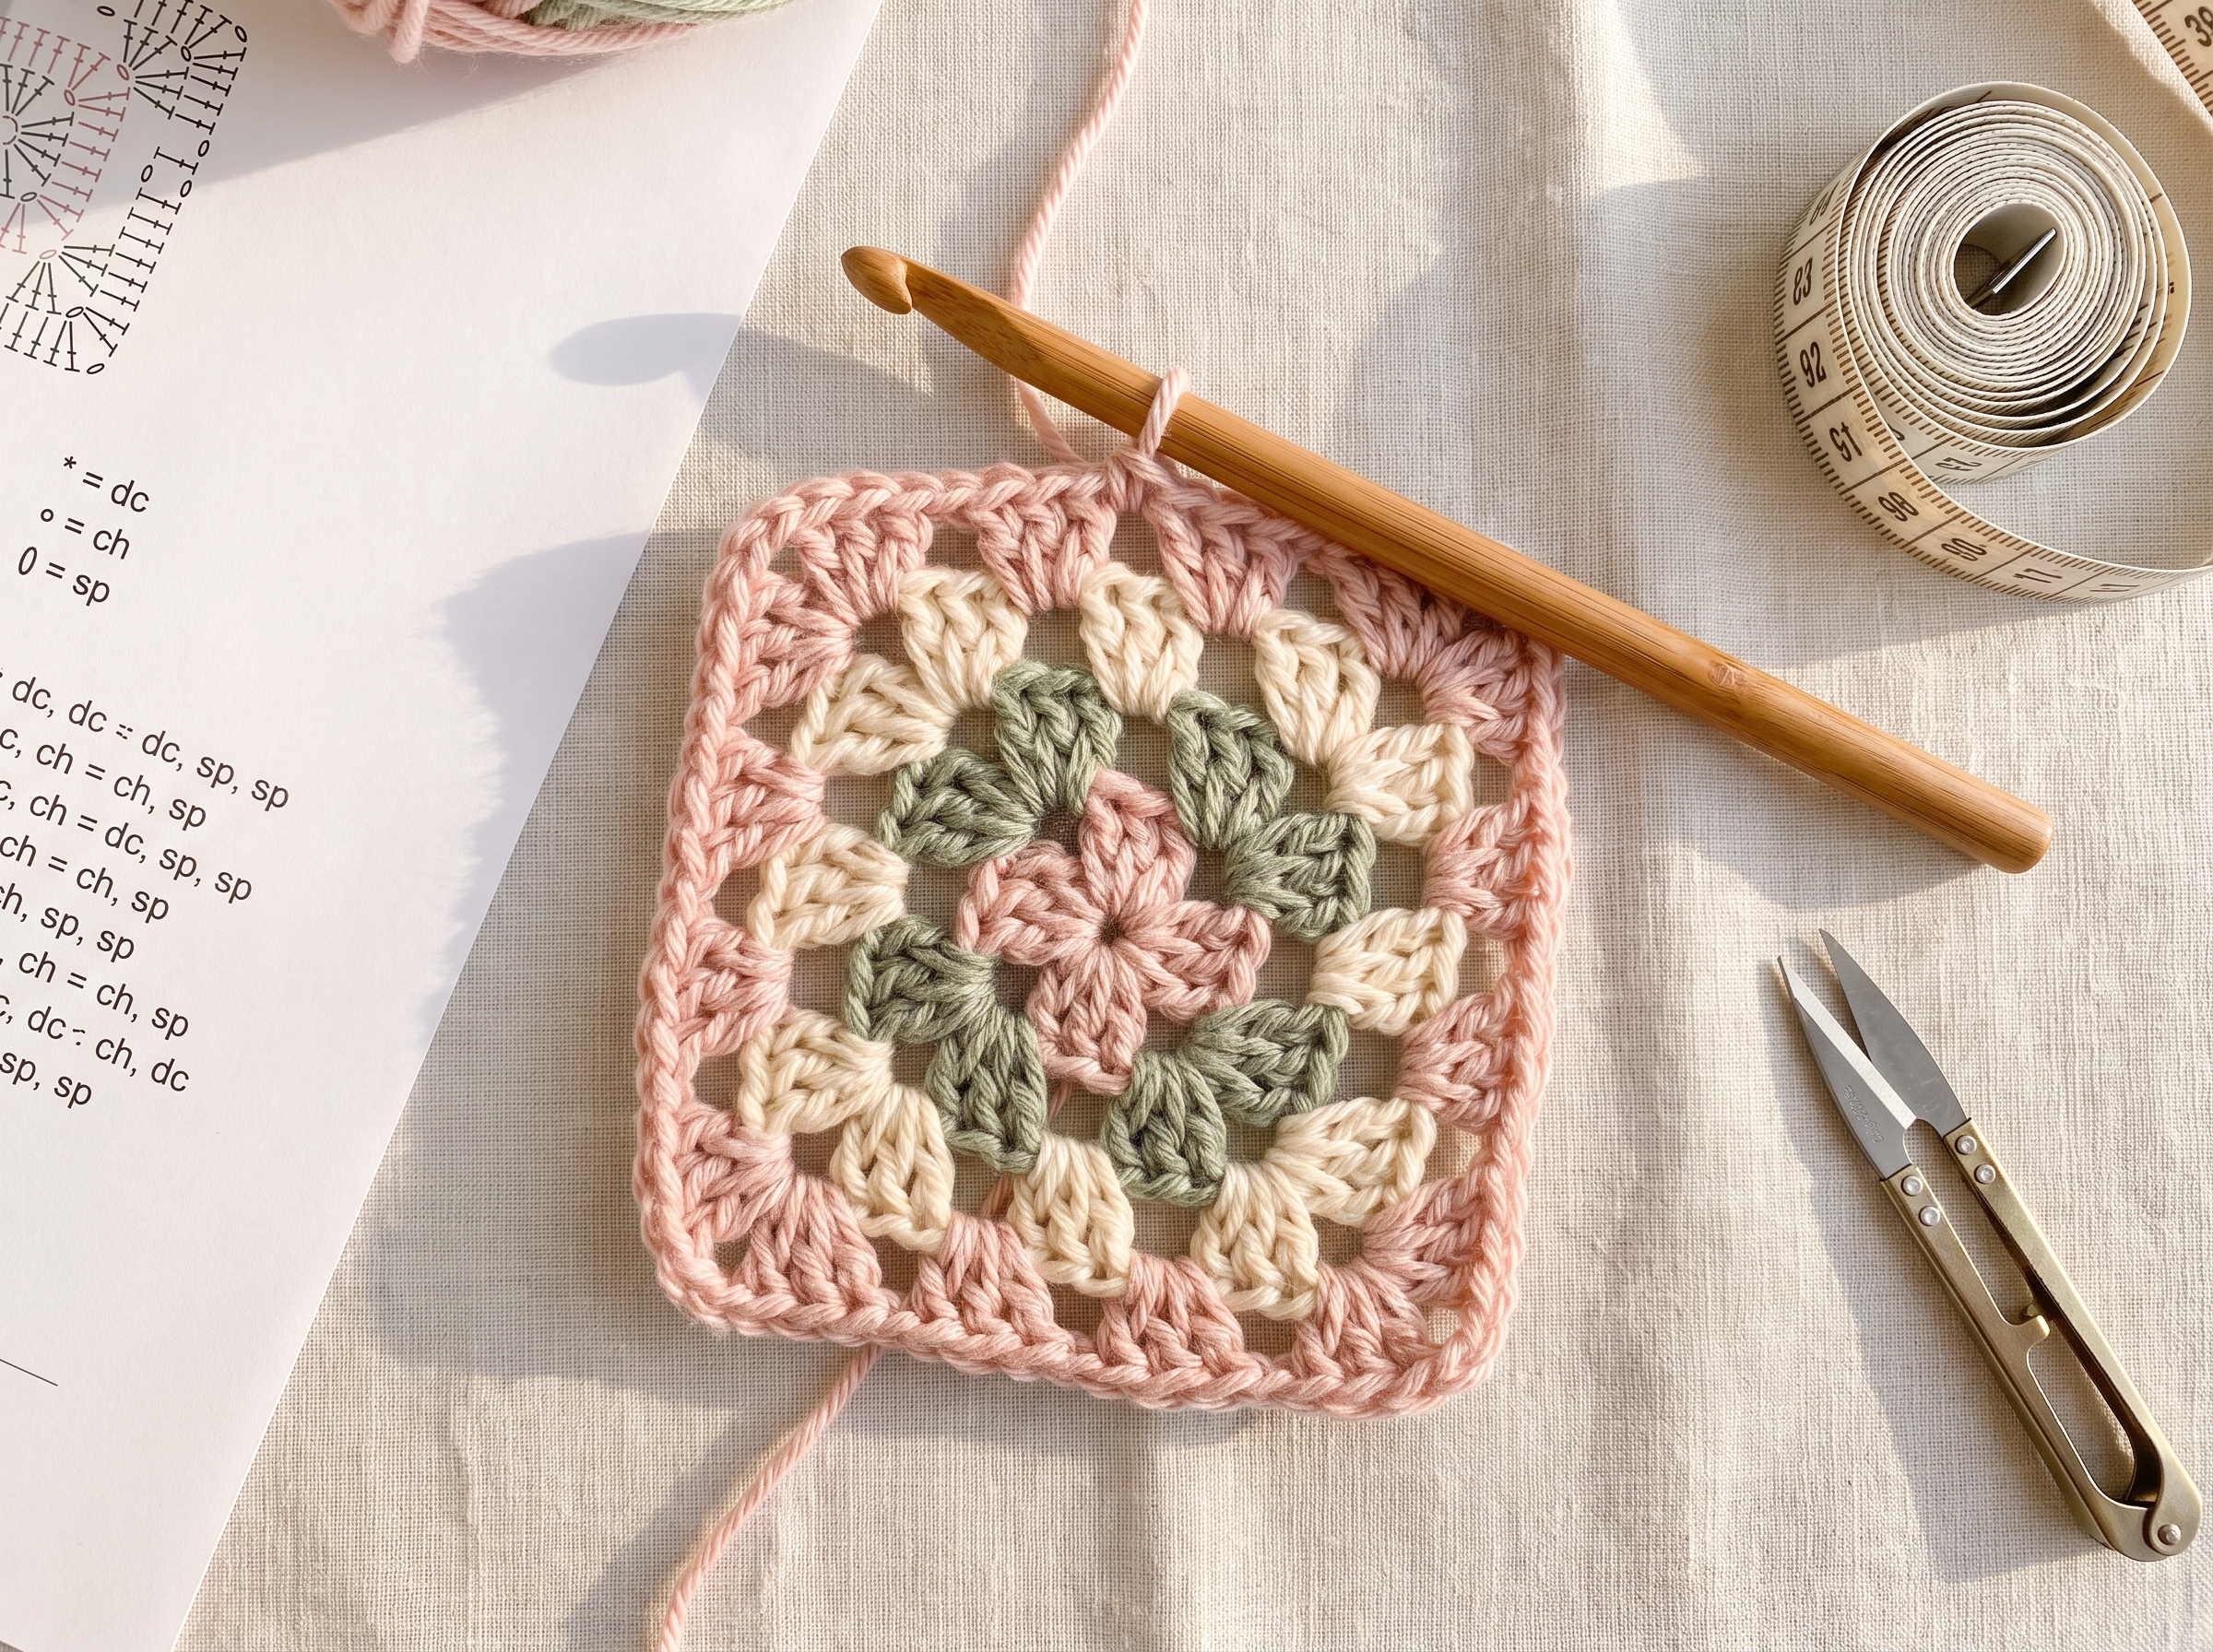
When parentheses surround a set of instructions, it indicates that the sequence inside the parentheses should be worked into the same stitch/space. For example, here’s a sample line from a granny square pattern:
(dc4tog, ch 2) into each ch-1 sp around.
This means that into each chain-1 space, you will work a double crochet 4 together, then chain 2 before moving onto the next chain-1 space.
Abbreviations in US Crochet Terms
| Abbreviation | Meaning |
|---|---|
| blo | back loops only |
| ch | chain |
| dc | double crochet |
| dc2tog | double crochet two together |
| fpdc | front post double crochet |
| sc | single crochet |
| st/sts | stitch/stitches |
| yo | yarn over |
All of the stitches and methods used in patterns on this blog are basic, beginner-friendly stitches, with explanations provided for less common things (such as the puff stitch or how to crochet in the back loops only). If after reading the explanations for a stitch you are still unsure how to do it, I recommend looking up a beginner’s tutorial for that stitch on YouTube — there is a plethora of beginner crochet tutorials online.
Now that you know how to read the abbreviations, sizing, and stitch counts, the next step is making sure you have the right materials and gauge before you start your garment. Head over to Crochet Garment Materials 101: Yarn, Hooks, Gauge & Sizing Explained to learn how to choose the right yarn, hook, and check your gauge so your finished garment fits exactly as intended.
Once you’ve got your materials sorted, you’ll want to bookmark Essential Crochet Techniques for Garment-Making: Seaming, Stitches & Assembly Tips — it covers every seaming method, stitch, and assembly trick used across all of my garment patterns, including the Starburst and Filled Granny Squares.