There’s something undeniably charming about farm animals, and a sweet little chicken is always a favorite. Whether imagined clucking in a sunny yard or sitting proudly on a shelf, chickens bring a touch of rustic warmth and country charm to any space. When designing this pattern, I wanted to capture that cozy, homey feeling in a soft and squishy amigurumi form.
Today, I’m excited to share this free crochet chicken pattern with you. It’s a beginner-friendly project that’s perfect for adding a farmhouse touch to your handmade collection while practicing essential amigurumi techniques.
This pattern is designed to be simple, clear, and enjoyable to follow. You’ll crochet a smooth, rounded body, then add the classic chicken crest, embroidered facial details, and adorable three-toed feet that give this little character so much personality.
If you’re ready to create a charming farm-inspired amigurumi, grab your hook and your favorite yarn. Let’s start crocheting your very own handmade chicken!
This free crochet chicken pattern is worked in continuous rounds using basic amigurumi techniques. It’s perfect for confident beginners who want to practice shaping, embroidery, and simple decorative surface crochet.
The Free “Clucky” Crochet Chicken Pattern
This pattern is designed for clarity and smooth construction. Take your time, read through the sections, and enjoy creating your new feathered friend!
Materials
Finding the Best Yarn for Your Crochet Chicken
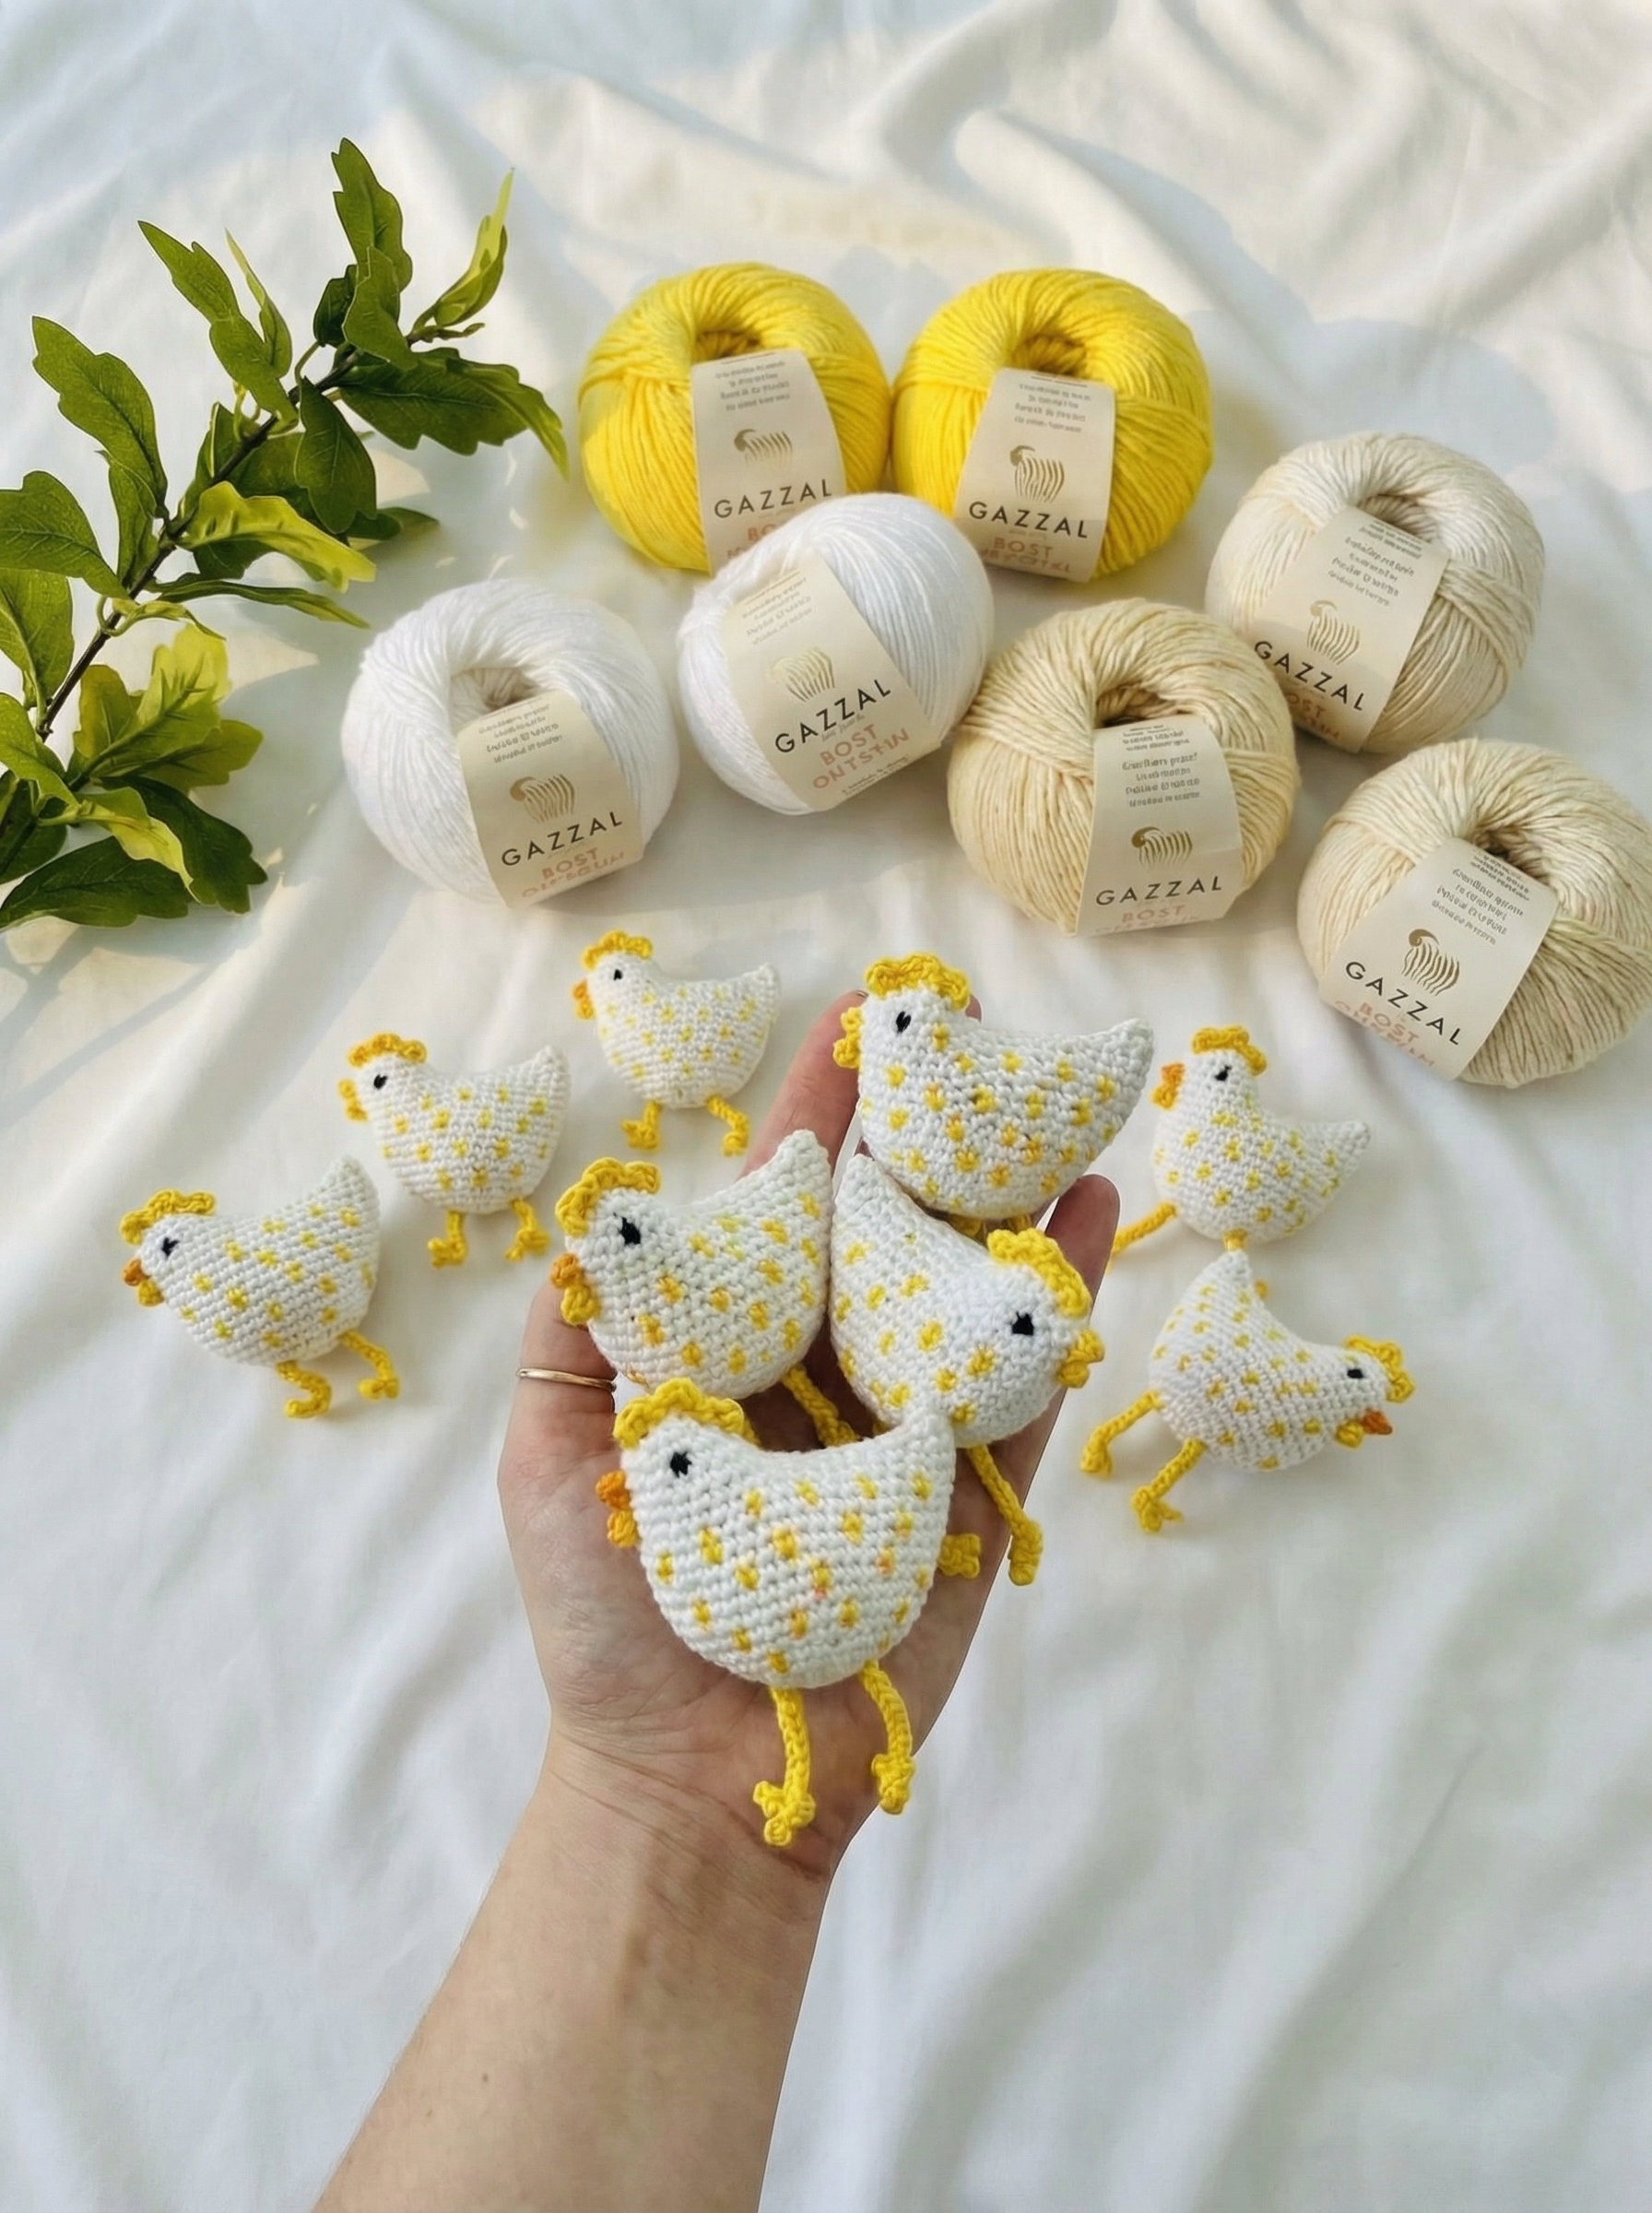
Your yarn choice will affect the final look and feel of your chicken. For the best stitch definition and a nicely shaped amigurumi, I recommend 8-ply / DK weight yarn.
Yarn (DK / 8-ply):
- Main Body Color (choose 1 or 2):
- White – classic farm chicken
- Cream/Natural – rustic, cozy look
- Light Gray – soft and subtle
- Terracotta (rusty red-brown) – deeper, rich tone
- Comb/Wattle (Contrast Color 1): bright red or terracotta
- Beak & Feet (Contrast Color 2): your preferred beak color (commonly yellow, gold, or orange)
- Embroidery/Details: small amount of black yarn (eyes, accents)
Tools & Notions:
- Crochet hook: 3.5 mm (for tight amigurumi stitches with DK yarn)
- Eyes: 2–3 mm bead eyes or black embroidery thread/yarn for embroidered eyes
- Stuffing: polyester fiberfill
- Tapestry/darning needle (for sewing and embroidery)
- Scissors
- Stitch marker (recommended for tracking rounds)
Child Safety Note:
If gifting to children under 3, use embroidered eyes only (no beads) and avoid adding any wire/pipe cleaners.
Top 3 DK Yarns for Your Amigurumi Chicken
Picking a good quality DK yarn ensures your chicken is soft, durable, and looks fantastic. Here are a few brands I often reach for.
| Yarn Brand & Name | Fiber Content | Why I Like It for Amigurumi | Suggested Use for Chicken |
|---|---|---|---|
| Lion Brand 24/7 Cotton DK | 100% Mercerized Cotton | Smooth, strong, and has a lovely sheen. Great stitch definition. | For a classic, durable chicken with crisp details. Holds shape well. |
| Paintbox Yarns Cotton DK | 100% Cotton | Huge range of colors for body and accents. Soft but holds shape. | If you want to make a chicken in a specific, unique shade or a vibrant comb/wattle. |
| Loops & Threads Snuggly Wuggly | 100% Acrylic | Incredibly soft, a little fuzzy, and easy to care for. Great for a plushier feel. | For a very cuddly chicken, perhaps as a baby gift (embroider eyes for safety). |
Abbreviations (US Terms)
Here are the abbreviations used in this pattern:
- MR – MAGIC RING
- CH – CHAIN
- SLST – SLIP STITCH
- SC – SINGLE CROCHET
- HDC – HALF DOUBLE CROCHET
- DC – DOUBLE CROCHET
- ST – STITCH
- INC – INCREASE
- DEC – DECREASE
- R – ROW/ROUND
- X … – REPEAT … TIMES
- (ST) – NUMBER OF STITCHES IN THAT ROW
Notes
- Work in continuous rounds unless stated otherwise. This means you won’t join at the end of each round.
- Use a stitch marker to mark the first stitch of each round. This is so important for keeping track, especially on a project with a head/body split like this.
- Stuff firmly but do not overstretch your stitches. You want your chicken to be plump but without seeing the stuffing.
- This pattern uses bead eyes (2-3 mm). If making for a young child, I recommend embroidering the eyes with black yarn for safety instead.
The Pattern Instructions
Now it’s time to start crocheting! Follow these steps carefully, and soon you’ll have your very own amigurumi chicken.
BODY
Worked in continuous rounds, starting from the base.
R1: 6 SC in MR (6)
R2: INC × 6 (12)
R3: (1 SC, INC) × 6 (18)
R4: 1 SC, INC, (2 SC, INC) × 5, 1 SC (24)
R5: (3 SC, INC) × 6 (30)
R6: 2 SC, INC, (4 SC, INC) × 5, 2 SC (36)
R7: (17 SC, INC) × 2 (38)
Note: This round places two increases opposite each other to gently shape the body into a slightly oval form. This is intentional and helps create the chicken’s rounded silhouette.
R8: 38 SC (38)
R9: (18 SC, INC) × 2 (40)
R10–17: SC around (40) — 8 rounds total
Dividing the Head from the Body
Important shaping step:
In Round 18, you will crochet only the front half of the stitches. This intentionally creates an opening at the back of the chicken. Don’t worry — this opening will be sewn closed after finishing the head to shape the body properly.
R18: Place marker, 10 SC, skip 20 STS, SL ST to join across gap, 10 SC to marker (20 sts worked)
You are now working only the head section (20 stitches). The skipped stitches form the back opening of the body.
R19: 9 SC, DEC, 9 SC (19)
R20: 17 SC, DEC (18)
R21–22: SC around (18) — 2 rounds
R23: 2 SC, DEC, (4 SC, DEC) × 2, 2 SC (15)
R24: (3 SC, DEC) × 3 (12)
Fasten off, leaving a tail about 30 cm long. Thread the yarn through the front loops of the final round and pull tight to close the head. Secure and bring the yarn tail to the base of the head.
Closing the Body
Stuff the body firmly.
Using a yarn needle, sew the back opening (created in Round 18) securely closed. This shapes the chicken’s body and gives it structure.
Do not fasten off the thread yet, as it will be used to form the tail.
Tail
Using the yarn attached at the base of the body (after sewing the back closed):
In the same stitch:
- Ch 3, SL ST in the same stitch.
- Ch 5, SL ST in the same stitch.
- Ch 3, SL ST in the same stitch.
This creates a decorative three-loop tail.
Fasten off and weave in the end securely.
LEGS (Make 2)
Using your chosen leg color (yellow, gold, orange, or preferred shade).
Ch 7.
First Toe
Starting in the 2nd chain from the hook,
work 1 SL ST in each of the next 3 chains.
(3 slip stitches total – first toe formed)
Second Toe
Ch 3.
Starting in the 2nd chain from the hook,
work 1 SL ST in each chain back toward the base (2 slip stitches).
SL ST into the same base stitch to anchor.
Third Toe
Ch 3.
Starting in the 2nd chain from the hook,
work 1 SL ST in each chain back (2 slip stitches).
SL ST into the base to anchor.
Leg Stem
Work SL ST down the remaining foundation chains (usually 4–5 stitches) to return to the starting point.
Fasten off, leaving a long tail for sewing.
CHICKEN CRESTS
Using your chosen comb color (red, terracotta, or preferred shade).
This comb is worked directly onto the head surface to create a raised texture.
Insert your hook between Rounds 14 and 15 of the head (center top).
SL ST to attach yarn.
First Comb Bump
Ch 3,
SL ST into the same insertion point.
Second Comb Bump
Insert hook into the same round and bring it out one stitch forward along the head.
Ch 4,
SL ST to anchor.
Third Comb Bump
Insert hook one stitch forward again.
Ch 3,
SL ST to anchor.
Fasten off and weave in the ends securely inside the head.
Beak & Decoration
Use your chosen beak color (yellow, gold, orange, or any shade you prefer).
Use black yarn for embroidered eyes (if not using bead eyes).
Use white yarn for decorative feather dashes.
Embroider the Beak
With your chosen beak color, embroider a small triangular shape between Rounds 10–12 of the head.
Use short horizontal stitches, tapering slightly to form a neat triangle.
Center it carefully between the eyes.
Eyes
- If using bead eyes: attach securely before final stuffing.
- If embroidering: create two small horizontal stitches or gentle “V” shapes using black yarn.
Decorative Feather Dashes
Using white yarn, embroider small V-shaped stitches across the body or sides to create a soft feather texture.
Space them evenly for a balanced, natural look.
Hatching the Perfect Chicken: Tips & Tricks
You’ve got the pattern, and now it’s time to bring your clucky friend to life! Here are some common questions and my best tips to help you make your crochet chicken truly stand out.
How Do I Make My Crochet Chicken Stand Up?
While this chicken is designed to be a soft, cuddly amigurumi that might flop a bit, you can certainly help it stand!
- Firm Stuffing: The most important step is to stuff the body very firmly. Make sure the base is packed well and smooth.
- Leg Positioning: When you sew the legs on, position them slightly forward of the center balance point. This acts like a little tripod with the tail.
- Flat Base: Make sure the very bottom of the body, where the legs attach, is as flat as you can get it when stuffing.
- Slightly Stiffer Legs: You can lightly stiffen the legs by inserting a short piece of floral wire or pipe cleaner into each leg during stuffing. Just make sure to fold the ends of the wire inward securely for safety.
Best Ways to Embroider the Beak and Dashes for a Cute Face
Embroidering faces is where your chicken gets its unique personality!
- The Beak: For the beak, I use a tapestry needle and a small amount of yellow yarn. I create a small, triangular shape by making several horizontal stitches over 2-3 rounds, tapering them slightly to form the point of the beak. Position it usually between rounds 10-12 of the head, centered.
- The Dashes (Eyes): The pattern calls for bead eyes, but if you prefer embroidery (or for safety reasons), you can embroider the eyes. Two small “V” shapes or simple horizontal lines in black yarn work well for sleepy or cute eyes. Place them symmetrically on either side of the beak.
- Feather Dashes: The embroidered dashes with white yarn add a lovely texture. I make small, individual stitches or tiny “V” shapes across the body, especially on the sides and wings. It gives the impression of soft feathers without adding bulk.
Can I Make a Rooster or a Chick with This Pattern?
Yes, you can absolutely modify this pattern to create a whole family!
- To Make a Rooster:
- Larger Comb: Simply add an extra chain or row to the CHICKEN CRESTS pattern to make them taller and more prominent.
- Wattle: Crochet a small red oval or teardrop shape (e.g., 6 sc in MR, then inc in 3 sts, 3 sc). Fold it in half and sew it under the beak.
- Spurs: You can embroider small “V” shapes onto the back of the legs with yellow yarn to represent spurs.
- To Make a Chick:
- Use a thinner yarn (e.g., fingering weight) with a smaller hook (e.g., 2.0-2.5mm). This will scale down the entire pattern.
- Skip the crests entirely, or make very tiny ones.
- Embroider small, sleepy eyes for an even cuter baby chick look.
Choosing Yarn Colors: Beyond Traditional Chicken Hues
While classic white, black, or brown chickens are lovely, don’t be afraid to get creative with your colors!
- Fantasy Chicken: Imagine a purple chicken, or one with rainbow-striped feathers! This is amigurumi; anything goes.
- Pastel Chicken: Soft pink, baby blue, or mint green can make a sweet, whimsical chicken perfect for a nursery.
- Variegated Yarn: A self-striping or variegated yarn can create a beautiful, multi-colored chicken with minimal effort, as the yarn does all the colorwork for you.
What are Bead Eyes vs. Embroidered Eyes for Amigurumi Chickens?
This choice comes down to aesthetics and safety:
- Bead Eyes: These are small, usually black, round beads that you sew onto your amigurumi. They give a shiny, distinct eye that can look very professional. They are quick to attach and provide a classic look. However, bead eyes can be a choking hazard for young children, so avoid them if the toy is for a baby or toddler.
- Embroidered Eyes: These are created by stitching directly onto the amigurumi with black yarn or embroidery floss. They are 100% safe for all ages as there are no loose parts. They also offer more flexibility in expression, as you can embroider sleeping eyes, cheerful eyes, or simple dot eyes.
Grow Your Crochet Farm: More Free Patterns
Once you’ve made one charming chicken, you might find yourself wanting to build a whole farm! It’s so much fun to create a collection of farm animals, each with its own personality. Or maybe you’re looking for other confident beginner projects.
While I’m constantly adding more farm-fresh patterns, you can find other delightful amigurumi to crochet right here on the blog. Start building your collection with these free patterns:
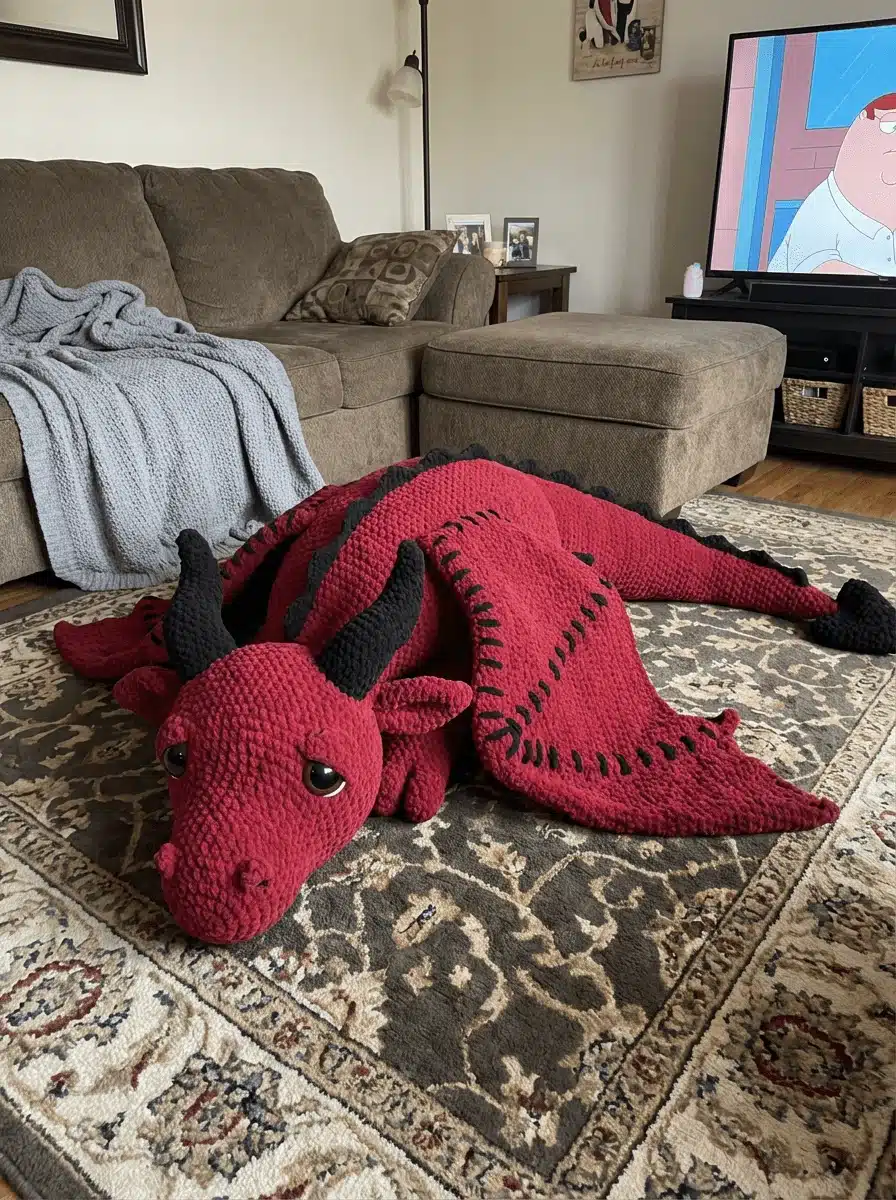
- Free Crochet Dragon Ornament Pattern: If you’re ready for an advanced challenge beyond the farm.
- Amigurumi Blue Tang Free Crochet Pattern: Dive into the ocean with this colorful fish.
Conclusion: Your Farm-Fresh Amigurumi is Ready!
Congratulations! You’ve successfully crocheted your very own adorable crochet chicken. There’s a real satisfaction in watching this little character take shape, from a simple magic ring to a complete, cheerful friend. This pattern is perfect for adding a touch of handmade charm to your home, gifting to a friend, or even decorating for an Easter celebration.
I hope you’ve enjoyed making this farm-fresh amigurumi. It’s a project that brings a lot of smiles!
I would absolutely love to see your finished chicken! Once you’re done, please consider sharing a photo with our wonderful community of fellow crocheters. For a friendly and welcoming place to share your projects, ask questions, and see what others are making, please come and join my Facebook Group! We can’t wait to see you there.