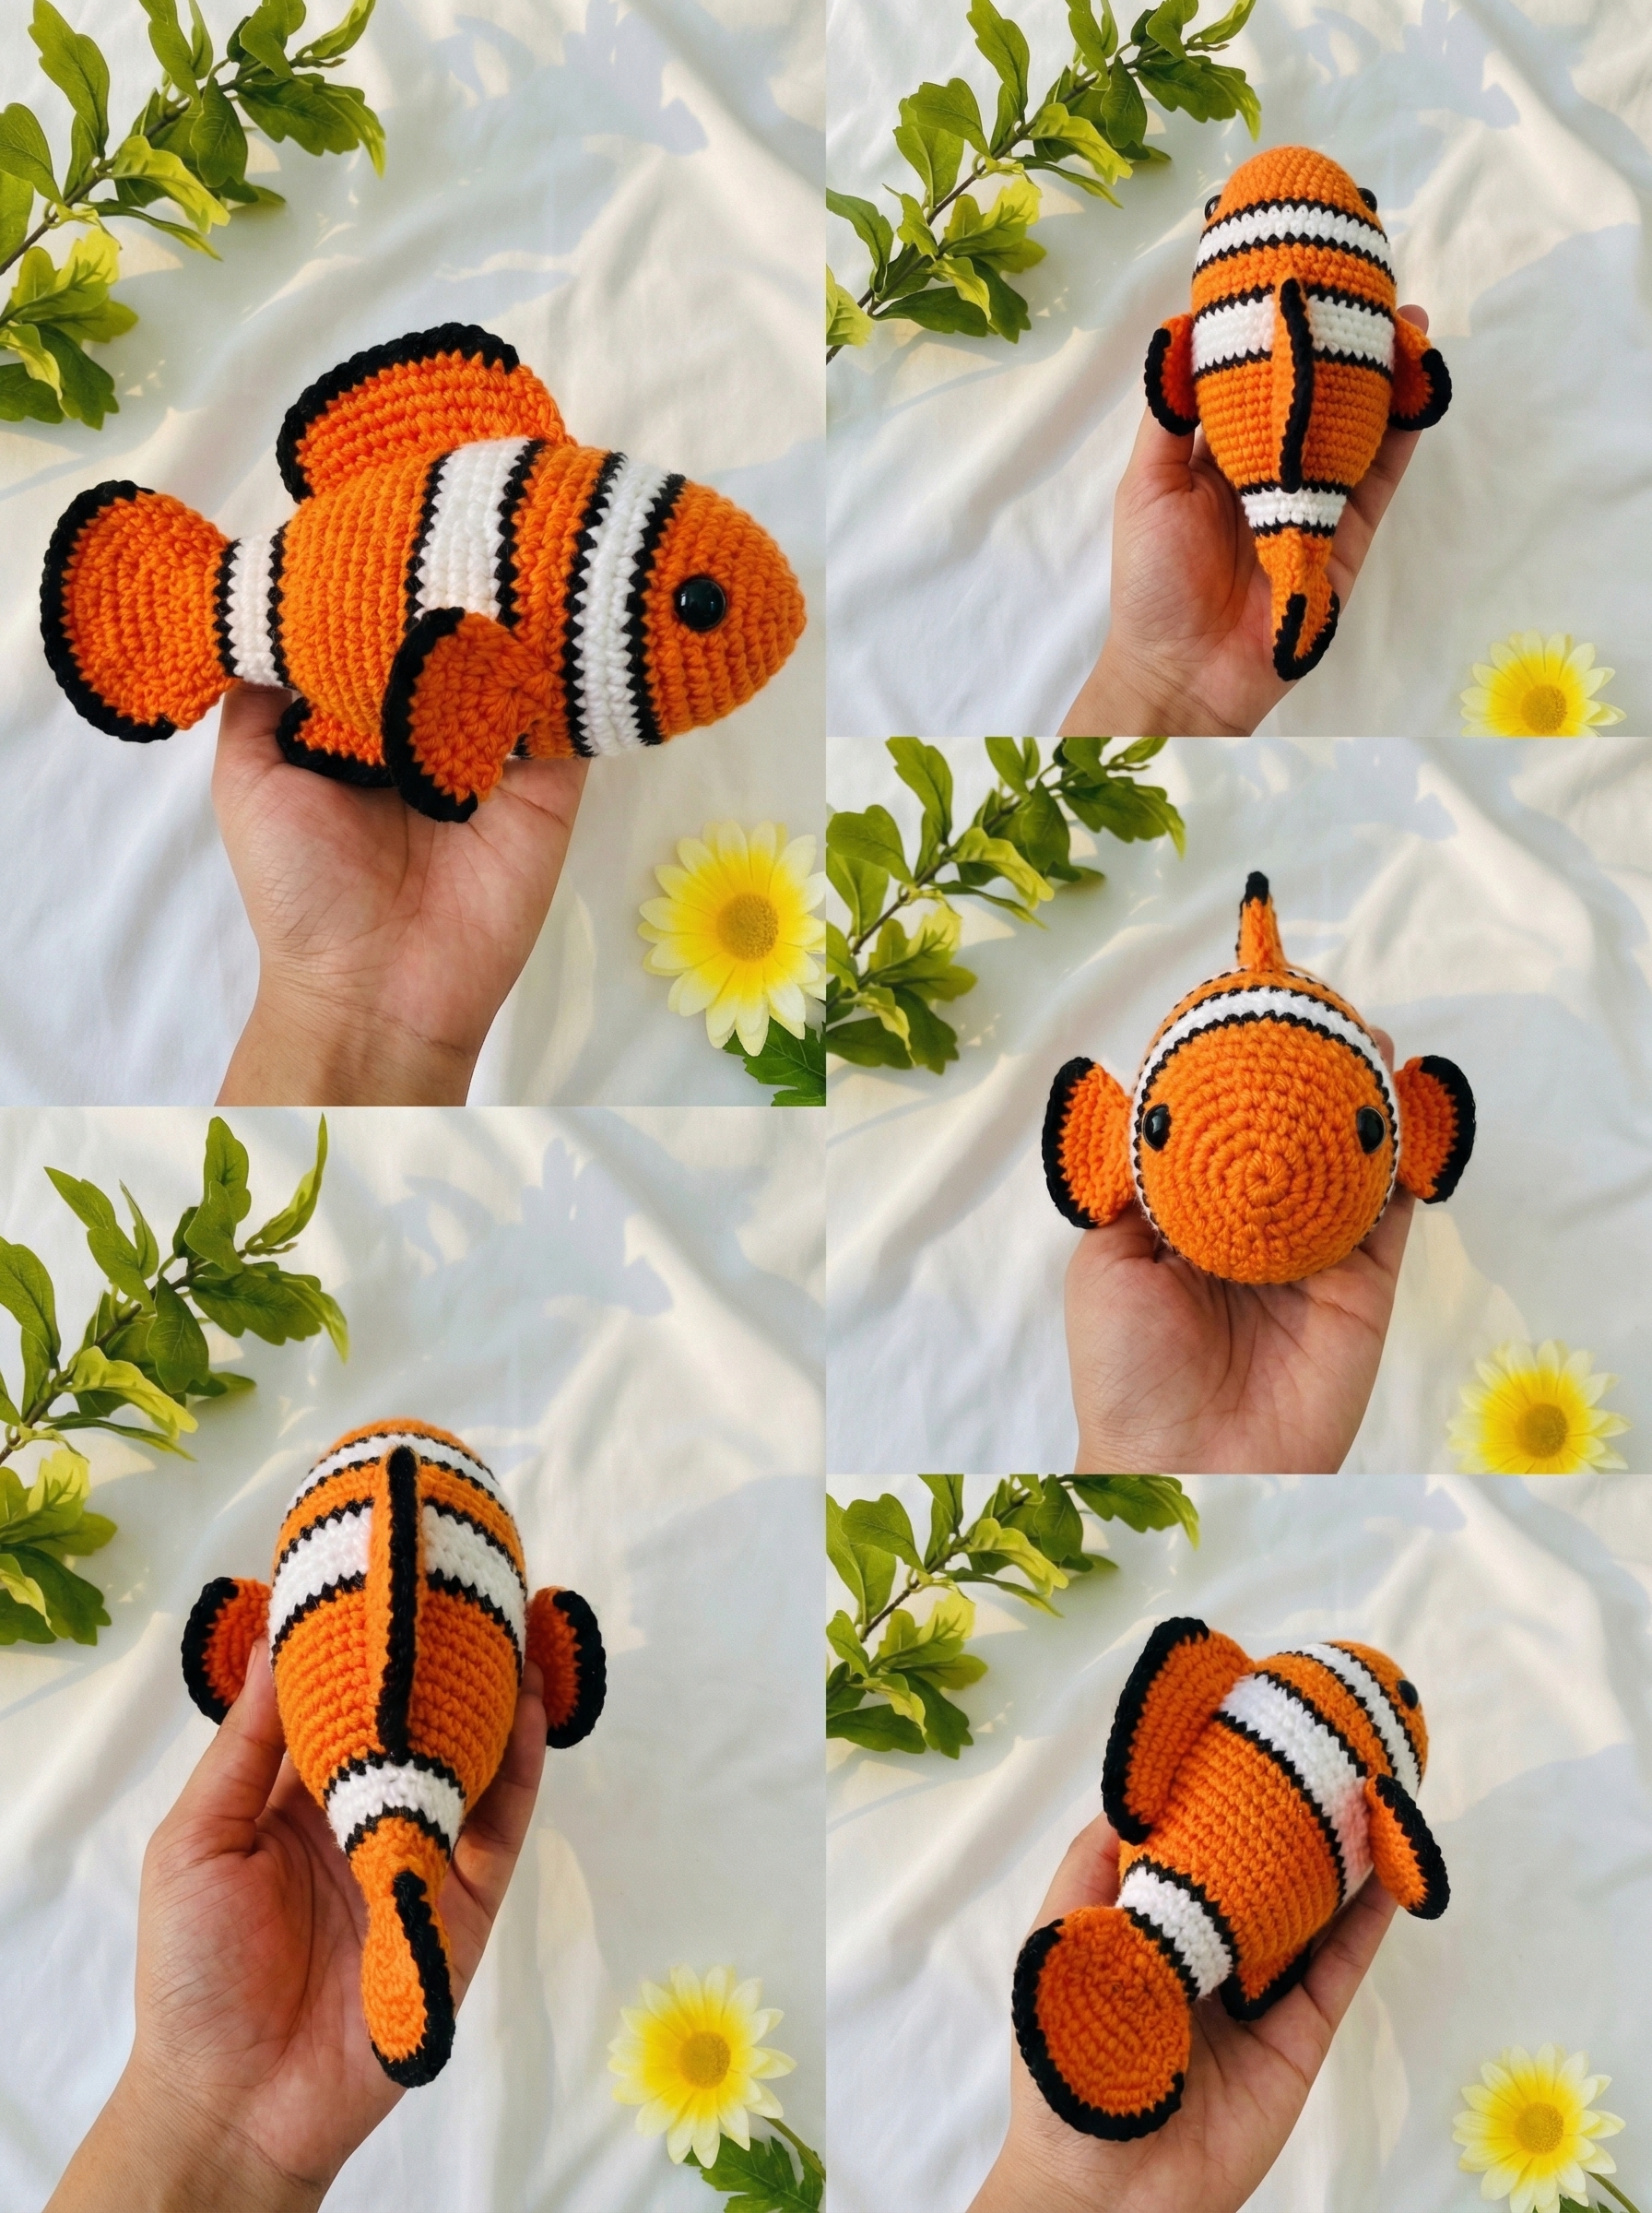
I’m thrilled to share the first sea creature I created for my special crochet fish aquarium! When my grandma suggested that we make an aquarium together, I couldn’t resist starting with this adorable clownfish. Its vibrant orange stripes instantly reminded me of watching ocean documentaries as a child and dreaming of colorful underwater worlds.
Now, I’m excited to bring that same sense of wonder to you through this crochet pattern. Whether you’re building your own crochet aquarium or simply love ocean-themed projects, this clownfish is a fun and creative piece to add to your collection.
Pattern Details: A Charming Intermediate Project
This intermediate-level crochet pattern creates a detailed clownfish measuring approximately 8 inches (20 cm) in length. It’s perfect for adding a bold, playful touch to a crochet aquarium or for gifting to anyone who loves marine life.
The pattern is worked in continuous spirals using single crochet stitches. It’s an excellent project for practicing shaping techniques and color changes while creating a realistic, three-dimensional fish.
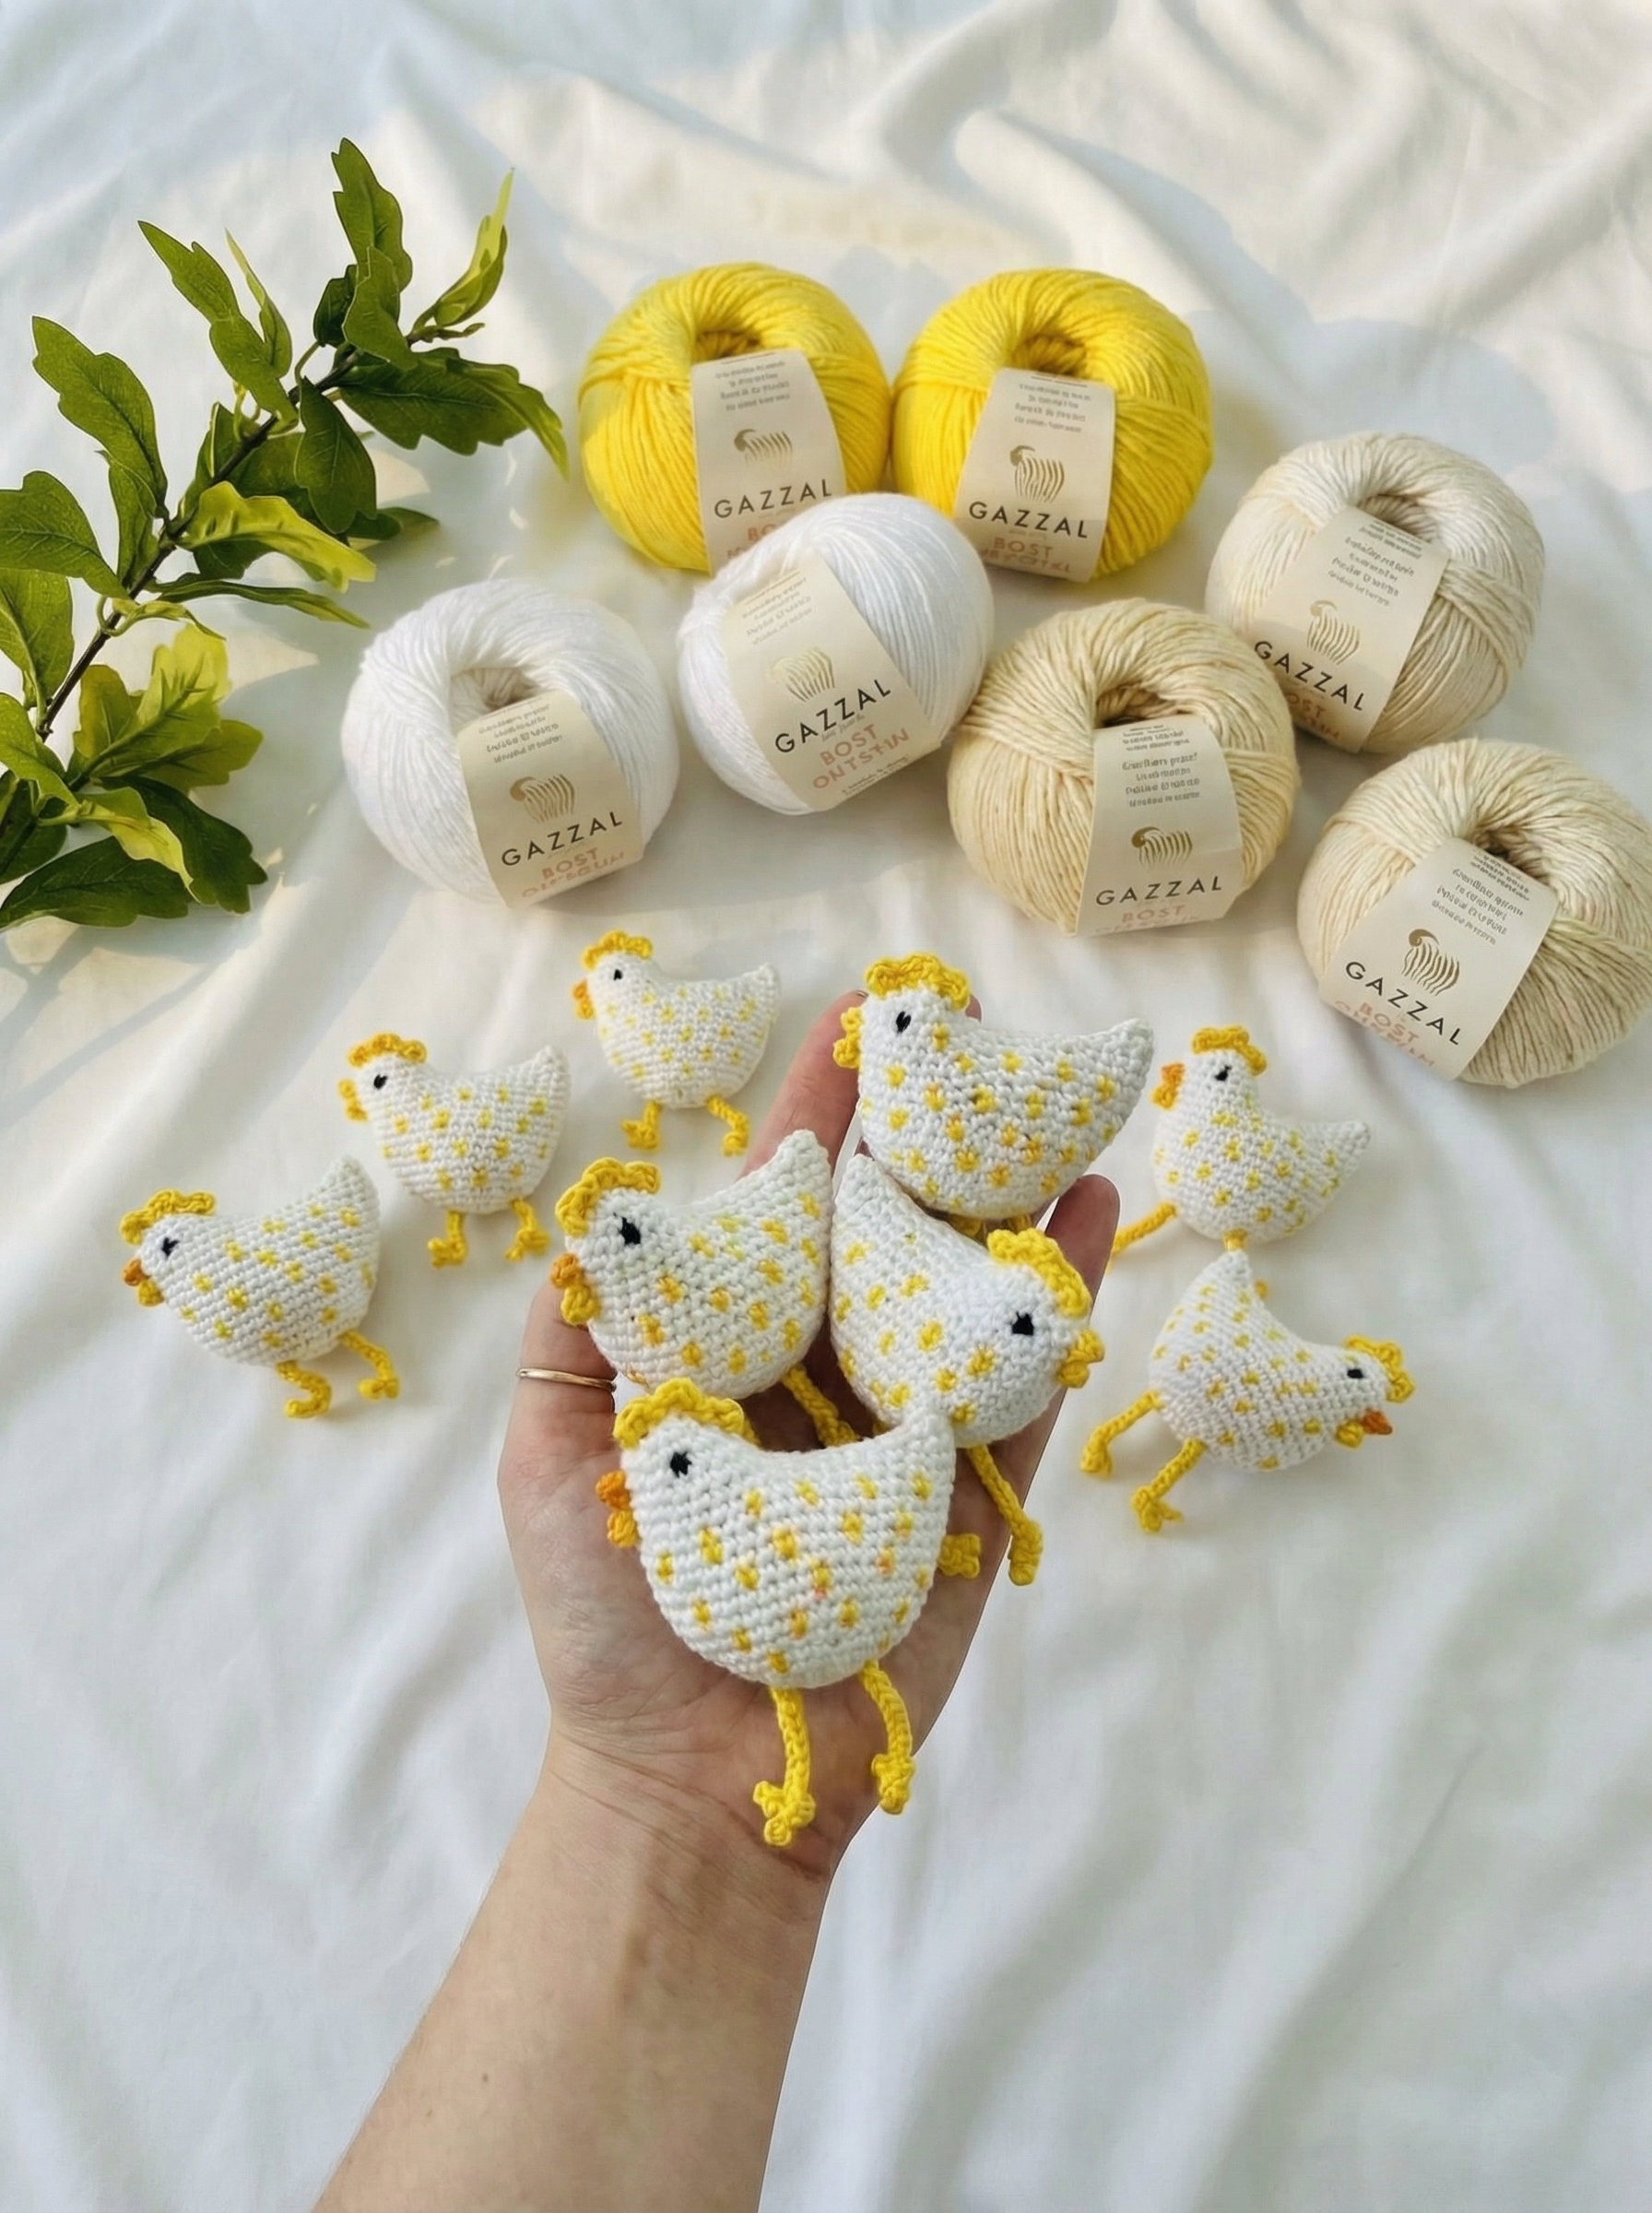
Materials Needed: Gather Your Supplies
To bring this crochet clownfish to life, you’ll need the following materials. The color amounts listed reflect the version shown in this aquarium project, but you may adjust colors as desired.
Crochet Hook
- Size G/6 (4.0 mm)
Yarn (Light Worsted Weight / DK)
- Orange: approximately 312 yd / 285 m
- Dark orange: approximately 11 yd / 10 m
- White (for stripes): approximately 50 yd / 46 m
- Black (for eyes and stripe detailing): approximately 20 yd / 18 m
Other Supplies
- Tapestry needle
- Sewing pins
- Fiberfill stuffing
Abbreviations: US Crochet Terms
This pattern uses standard US crochet terminology to ensure the instructions are clear and easy to follow.
- ch = chain
- slst = slip stitch
- sc = single crochet
- dc = double crochet
- inc1sc = increase one single crochet (2 sc in the same stitch)
- inc2sc = increase two single crochets (3 sc in the same stitch)
- inc1dc = increase one double crochet (2 dc in the same stitch)
- sc2tog = single crochet two stitches together
- sc3tog = single crochet three stitches together
- dc2tog = double crochet two stitches together
- st = stitch
- ( … ) × 3 = repeat the instructions inside the parentheses three times
- MR6 = magic ring with 6 stitches
- orange: = work using orange yarn
- white: = work using white yarn
Crochet Pattern Instructions: Step-by-Step Creation
Follow these steps to create your clownfish, perfect for swimming in your own crochet aquarium.
This pattern is worked in continuous rounds, so use a stitch marker to mark the beginning of each round.
The Body of the Fish (in Orange)
Foundation
Round 1: ch 5, turn.
Round 2: Start in the 2nd ch from hook: 3 sc, inc2sc in next st.
Continue on the bottom side of the foundation chain: 3 sc, inc2sc in next st.
(12)
Body Shaping – Increase Section
Round 3: 2 sc, inc1sc around (16)
Round 4: 3 sc, inc1sc around (20)
Round 5: 4 sc, inc1sc around (24)
Round 6: 5 sc, inc1sc around (28)
Round 7: 6 sc, inc1sc around (32)
Round 8: 7 sc, inc1sc around (36)
Round 9: sc around (36)
Round 10: 8 sc, inc1sc around (40)
Round 11: sc around (40)
Round 12: 9 sc, inc1sc around (44)
First White Stripe
Round 13 (color change):
orange: 2 sc; white: 6 sc; orange: 5 sc; white: 6 sc;
orange: 5 sc; white: 6 sc; orange: 5 sc; white: 6 sc; orange: 3 sc (44)
Round 14 (white): sc around (44)
Body Widening
Round 15:
3 sc, inc1sc, 2 sc, inc1sc, 18 sc, inc1sc, 2 sc, inc1sc, 15 sc (48)
Round 16: sc around (48)
Round 17:
4 sc, inc1sc, 2 sc, inc1sc, 20 sc, inc1sc, 2 sc, inc1sc, 16 sc (52)
Second White Stripe
Round 18 (color change):
orange: 3 sc; white: 10 sc; orange: 6 sc; white: 4 sc;
orange: 6 sc; white: 10 sc; orange: 6 sc; white: 4 sc; orange: 3 sc (52)
Rounds 19–24: sc around for 6 rounds (52)
Third White Stripe & Decreasing
Round 25 (color change):
orange: 3 sc; white: 10 sc; orange: 6 sc; white: 4 sc;
orange: 6 sc; white: 10 sc; orange: 6 sc; white: 4 sc; orange: 3 sc (52)
Round 26 (white):
4 sc, sc2tog, 2 sc, sc2tog, 20 sc, sc2tog, 2 sc, sc2tog, 16 sc (48)
Rounds 27–28: sc around (48)
Round 29:
3 sc, sc2tog, 2 sc, sc2tog, 18 sc, sc2tog, 2 sc, sc2tog, 15 sc (44)
Round 30: sc around (44)
Fourth White Stripe
Round 31 (color change):
orange: 3 sc; white: 6 sc; orange: 5 sc; white: 6 sc;
orange: 5 sc; white: 6 sc; orange: 5 sc; white: 6 sc; orange: 2 sc (44)
Tail Shaping & Stuffing
Round 32 (orange):
2 sc, sc2tog, 2 sc, sc2tog, 16 sc, sc2tog, 2 sc, sc2tog, 14 sc (40)
Round 33: sc around (40)
Round 34:
1 sc, sc2tog, 2 sc, sc2tog, 14 sc, sc2tog, 2 sc, sc2tog, 13 sc (36)
Round 35:
sc2tog, 2 sc, sc2tog, 12 sc, sc2tog, 2 sc, sc2tog, 12 sc (32)
Start stuffing with fiberfill.
Round 36:
2 sc, sc2tog, 10 sc, sc2tog, 2 sc, sc2tog, 10 sc, sc2tog (28)
Fifth White Stripe
Round 37 (color change):
white: 4 sc; orange: 3 sc; white: 4 sc; orange: 3 sc;
white: 4 sc; orange: 3 sc; white: 4 sc; orange: 3 sc (28)
Round 38 (white):
2 sc, sc2tog, 8 sc, sc2tog, 2 sc, sc2tog, 8 sc, sc2tog (24)
Round 39:
2 sc, sc2tog, 6 sc, sc2tog, 2 sc, sc2tog, 6 sc, sc2tog (20)
Round 40:
2 sc, sc2tog, 4 sc, sc2tog, 2 sc, sc2tog, 4 sc, sc2tog (16)
Continue stuffing.
Round 41:
2 sc, sc2tog, 2 sc, sc2tog, 2 sc, sc2tog, 2 sc, sc2tog (12)
Final Stripe & Tail Base
Round 42 (color change):
white: 3 sc; orange: 3 sc; white: 3 sc; orange: 3 sc (12)
Round 43 (orange):
inc1sc, inc1sc, 4 sc, inc1sc, inc1sc, 4 sc (16)
Continue stuffing.
Round 44:
inc1sc, inc1sc, 6 sc, inc1sc, inc1sc, 6 sc (20)
Round 45:
1 sc, inc1sc, inc1sc, 8 sc, inc1sc, inc1sc, 7 sc (24)
Rounds 46–48: sc around for 3 rounds (24)
Closing the Tail
Round 49:
2 sc, sc2tog, sc2tog, 8 sc, sc2tog, sc2tog, 6 sc (20)
Round 50:
1 sc, sc2tog, sc2tog, 6 sc, sc2tog, sc2tog, 5 sc (16)
Round 51:
sc3tog, sc3tog, 2 sc, sc3tog, sc3tog, 2 sc (8)
Round 52: slst, fasten off.
Flatten the tail and sew it shut. Do not stuff the tail.
Weave in all yarn ends.
Embroider black stripes along the edges of all white stripes using backstitch or dotted embroidery.
The Pectoral Fin (in Orange)
Make 2. Work in continuous rounds unless stated otherwise.
Round 1:
ch 10, close with a slst to form a ring (10)
Round 2:
sc around (10)
Round 3:
4 sc, inc1sc around (12)
Round 4:
1 sc, inc1sc around (18)
Round 5:
1 sc, inc1sc around (27)
Round 6:
sc2tog, 10 sc, sc2tog, sc2tog, 9 sc, sc2tog (23)
Round 7:
sc2tog, 8 sc, sc2tog, sc2tog, 7 sc, sc2tog (19)
Round 8:
sc3tog, 4 sc, sc3tog, sc3tog, 3 sc, sc3tog (11)
Round 9:
slst, fasten off.
Flatten the fin and sew the remaining opening closed. Do not stuff.
Finishing details:
- Using dark orange yarn, embroider 5–6 stripes on both sides of the fin.
- Using black yarn, crochet a row of sc along the straight/back edge of the flattened fin.
The Pelvic Fins (in Orange)
Make 2. Work in continuous rounds.
Round 1:
ch 8, close with a slst to form a ring (8)
Round 2:
sc around (8)
Round 3:
3 sc, inc1sc around (10)
Round 4:
4 sc, inc1sc around (12)
Round 5:
sc around (12)
Round 6:
sc2tog, 2 sc, sc2tog, sc2tog, 2 sc, sc2tog (8)
Round 7:
slst, fasten off.
Flatten the fin and sew the remaining opening closed. Do not stuff.
Finishing details:
- Using black yarn, crochet a row of sc along the back edge.
- Using dark orange yarn, embroider 4–5 stripes on both sides.
The Large Dorsal Fin (in Orange)
Make 1.
Round 1:
ch 20, close with a slst to form a ring (20)
Round 2:
sc around (20)
Round 3:
sc2tog, 6 sc, sc2tog, sc2tog, 6 sc, sc2tog (16)
Round 4:
sc2tog, 4 sc, sc2tog, sc2tog, 4 sc, sc2tog (12)
Round 5:
slst, fasten off.
Flatten the fin and sew the remaining opening closed. Do not stuff.
Finishing details:
- Using black yarn, crochet a row of sc along the back edge.
- Using dark orange yarn, embroider 8–9 stripes on both sides.
The Small Dorsal Fins (in Orange)
Make 2.
Round 1:
ch 14, close with a slst to form a ring (14)
Round 2:
sc around (14)
Round 3:
sc2tog, 3 sc, sc2tog, sc2tog, 3 sc, sc2tog (10)
Round 4:
sc2tog, 1 sc, sc2tog, sc2tog, 1 sc, sc2tog (6)
Round 5:
slst, fasten off.
Flatten the fin and sew the remaining opening closed. Do not stuff.
Finishing details:
- Using black yarn, crochet a row of sc along the back edge.
- Using dark orange yarn, embroider 7–8 stripes on both sides.
The Eyes (in Black)
Make 2.
Round 1:
MR6 (6)
Round 2:
slst, fasten off.
Finishing detail:
Using white yarn, embroider a small white dot on each eye, placing it near the edge (not centered) for a lively expression.
Assembly: Bringing Your Clownfish to Life
Now it’s time to assemble your clownfish and bring your crochet aquarium to life. Take your time with this step, and pin all pieces in place before sewing to ensure proper alignment and symmetry.
Body placement:
Place the finished body of the fish on a flat surface, with the color stripes clearly visible and evenly aligned.
Large dorsal fin:
Position the large dorsal fin along the center line of the body, aligned with the first orange stripe (counted from the left side of the fish). Sew securely in place.
Small dorsal fins:
Position the small dorsal fins along the center line of the body, aligned with the second orange stripe (counted from the left). Attach them evenly and securely.
Eyes:
Place each eye at the lower curve (indent) of the leftmost white stripe, leaving a gap of 1 single crochet between the stripe and the eye.
Before sewing, make sure the embroidered white dot is positioned on the upper-right side of each eye for a lively expression.
Pectoral fins:
Attach one pectoral fin to the right side of the first white stripe (counted from the left), positioning it at the second curve in the stripe.
Pelvic fins:
Turn the fish upside down.
Position the pelvic fins on the underside of the body, centered, leaving an open space of approximately 4–5 single crochets between them. Sew firmly in place.
Once all parts are attached, check the clownfish from all angles, adjust if needed, and tighten any loose stitches.
Congratulations! Your clownfish is now complete and ready to shine in your crochet aquarium
Tips & Tricks: Make Crocheting Easier
These helpful tips can make your project smoother and more enjoyable:
- Use a stitch marker (or a piece of scrap yarn) to mark the start of each round and avoid losing count.
- Cut the yarn when changing colors for cleaner transitions, especially between the white and orange stripes.
- Check your gauge with a 4 × 4 inch (10 × 10 cm) swatch. The correct gauge is 16 stitches wide and 20 rows tall. Adjust hook size if needed.
- Keep the pattern nearby while working so you can quickly reference abbreviations and stitch instructions.
Conclusion: Let’s Celebrate Your Clownfish Creation
I’m so happy to have shared this crochet clownfish pattern with you. It’s a special part of my aquarium collection, and I truly hope it brings you as much joy as it brought me while designing it.
I’d love to see your finished clownfish — feel free to share your creation in my crochet community and inspire others.
Stay tuned for the next pattern in this aquarium series, featuring a beautiful blue tang fish to add even more color and life to your underwater collection.
Happy crocheting 🧡🐠
What yarn is best for a crochet clownfish?
Light worsted weight or DK yarn works best for this crochet clownfish pattern. It provides a firm yet soft texture, making it ideal for amigurumi and durable enough for display. This is the yarn weight I used for my aquarium project with great results.
How do I crochet the black lines on a clownfish amigurumi?
Use black yarn and the backstitch technique, or embroider a dotted line and fill in the gaps. For this pattern, I embroidered black stripes along both edges of each white stripe on the body to create a clean, realistic look.
Can I use a different hook size for this pattern?
Yes, you can adjust the hook size, but it will affect the final size of your clownfish. A 4.0 mm (G/6) hook creates an approximately 8-inch (20 cm) fish. Always check your gauge and adjust the hook size if needed.
How do I stuff the clownfish without stretching the stitches?
Stuff gradually as you crochet, adding small amounts of fiberfill at a time. This helps maintain even tension and prevents gaps between stitches. Light, even stuffing works best for a smooth finish.
Is this pattern suitable for beginners?
This is an intermediate-level pattern due to color changes, shaping, and embroidery details. However, confident beginners with some experience can absolutely try it. It’s a great project for building new skills.